Tuesday, June 12, 2012

Progress

Progress has been slow over the last couple of months but I am now almost ready to glue the soundboard into the case.

Here is the soundboard, with the bridge attached, resting in the case.

Closeup of the treble end of the bridge along with the molding that will eventually be glued to the edge of the soundboard. Things are really tight here and there is only 2 or 3 mm of clearance between the end of the bridge and the molding.

Closeups of the bridge after inserting the bridge pins.


There are four "ribs" glued to the underside of the soundboard to stiffen it - here is the second one being glued in place.


I also started the work of trimming the lid and flap to their final size. The flap needs to be big enough for a large cat to stretch out and go to sleep on it.

I trimmed the curved part of the lid by clamping it to the case and using a 1/2" router bit with an oversized end bearing to leave a slight overhang. Fortunately this is an easy cut to make from above because you are cutting with the grain of the wood. There were, however, a few places that needed to have almost 3/8" of wood removed so I made three passes over it using progressively smaller bearings and finishing up with a 7/8" bearing which left an overhang of about 3/16".

Here is the lid with the flap resting on top of it in the open position. I went to a lot of trouble to get both the flap and the end of the lid perfectly square so that when it is folded back like this the edges line up perfectly.


Sunday, March 25, 2012

Bending the bridge.

The bridge is made of walnut and needs to be bent into a curve before it can be fitted to the soundboard. The instructions with the kit recommend soaking the bridge in water overnight but, based on past experience, I think that steam bending it will be easier and more effective.

The steamer is just a 6 foot length of 2" inside diameter black plastic drain pipe with some 1/4" wooden dowels used to support the work piece.

The form for bending the bridge consists of a set of small blocks screwed to a piece of wood along the curve that will be the eventual shape of the bridge.

After about 40 minutes the bridge is taken out of the steamer. clamped to the blocks and left to cool down and dry out for several hours.

Tuesday, March 20, 2012

Finishing the case

With all of the internal structure complete I spent the last week finishing the outside of the case.

This involves fitting wooden blocks - "staves" at the front of the case and all of the corners and a piece of molding along the bottom edge of the case. The "staves" are both decorative and functional - they reinforce the corners of the case and conceal the screws that hold the case together. The remaining screws are all covered by the bottom molding.

After my experience with the moldings on the Zuckermann case I was determined to find a way of clamping the moldings while they were being glued that used as few nails as possible. Nails are a very easy and convenient way of holding the moldings in place while the glue sets but I hate having to fill in the nail holes afterwards and am never quite satisfied with the results.

In the end I managed to do it all without any nails - it took a lot longer to do it that way but the result was worth it.

Here is the last piece of molding being fitted to the bottom of the cheek. The three clamps used here are complete overkill for this particular piece - I could probably have just held it in place with my hands for a minute or two and it would have been fine. They were, however, invaluable for doing the bentside molding which was the first piece that I fitted.


Here you can see the cheek to bentside corner stave and the bentside molding.

The corner staves are made up of two pieces of wood that are mitred together. The parts in the kit were pre-cut very accurately and did not require any adjustment. To keep the two pieces perfectly aligned with each other I treated this like the corner of a small box, laid them out flat - edge to edge - on the bench and used masking tape to hold them together. After applying the glue the pieces are folded up with the tape holding the corner edges together and the fitted to the case.

With the case finished I have moved it inside the house where almost all of the rest of the work on the instrument will be done.

Fortunately there is (just) enough space for all three harpsichords ...

Sunday, March 4, 2012

Fitting the liners

The liners run around the inside of the case and support the soundboard.


The liners and the walls of the case are supported by triangular blocks of wood called "knees".


Finally diagonal buttresses are glued in place to give additional support to the bentside.

Saturday, March 3, 2012

Fitting the bentside

The most difficult part of assembling the case is fitting the bentside which has to fit exactly along the curved part of the base.

The bentside is steam bent on a form to approximately the correct shape but needs to be carefully clamped when it is glued in place.

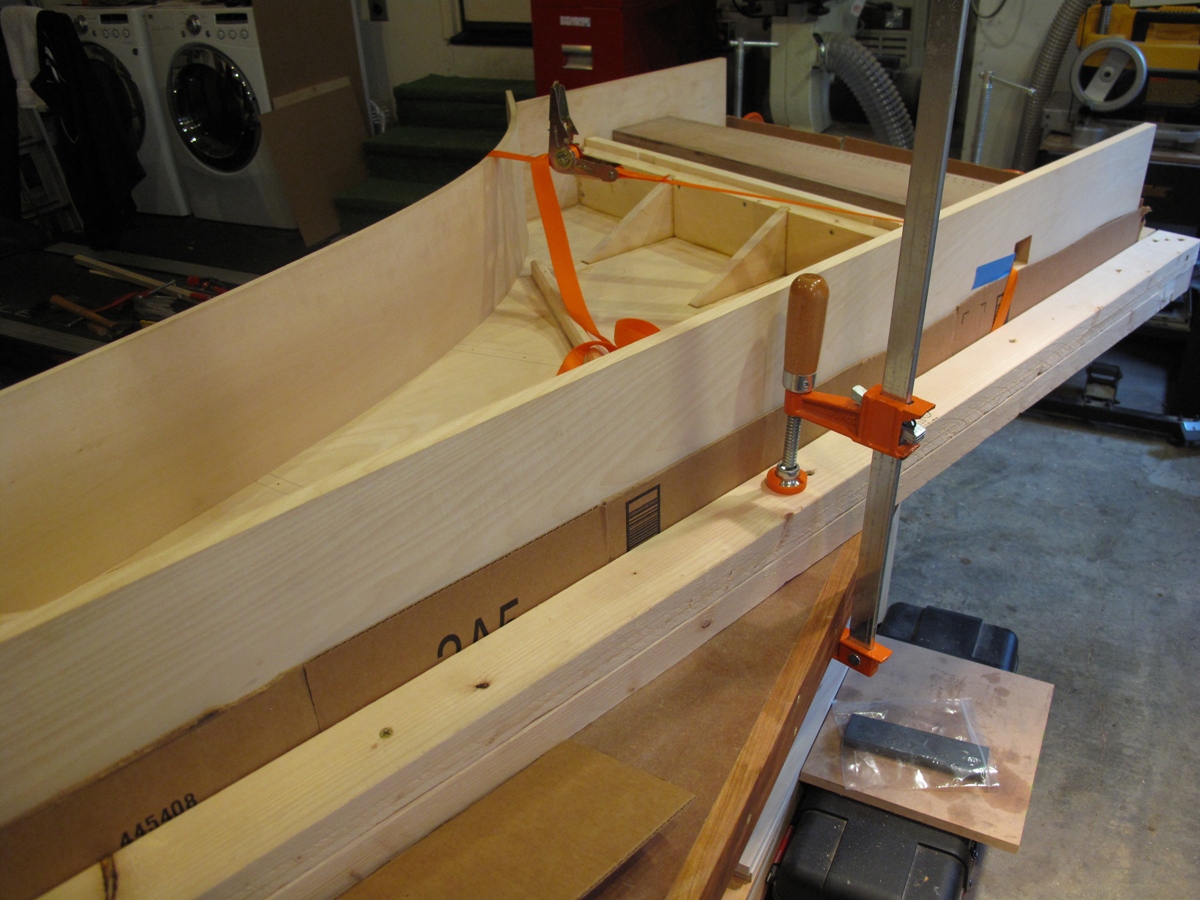
A band clamp with a ratchet does most of the work but I also used several Veritas Wonder Dog clamps.

Here you can see the band clamp holding the bentside in place.

In order to get the clamps in the best position on the bentside the instrument had to be set at an angle on the workbench with blocks of wood clamped to the bench along the spine and the front edge of the case to hold it in place.


Here you can see how the Veritas Wonder Dogs were used to clamp the bentside along the bottom edge.

Almost ready to assemble - the masking tape makes it easier to get the glue in the right place.

A few minutes later and it is both glued and screwed into place. At this point the screws are doing almost all of the work of holding the joints together but I left all of the clamps in place overnight to give the glue time to reach its full strength.


Once the glue has set and the clamps have been removed the bentside is trimmed flush with the cheek and the tail.

Sunday, February 12, 2012

Fitting the spine, tail and cheek

This weekend I got the three "easy" sides of the case installed - the spine, the tail and the cheek.

This is the cheek being glued in place clamped to the the wrestplank support block and screwed to the bottom of the case.

This is what the case looks like with the three side pieces attached.


Closeup of the wrestplank end of the spine showing the screws securing it to the base and the small window through which the registers can be removed from the instrument which, amazingly enough lines up perfectly with the gap between the wrestplank and the upper belly rail where the registers sit.

Closeup of the tail end of the spine showing the spine / tail joint.

The tail - all of the screws will ultimately be covered up by a molding that runs along the bottom of the case and by wooden blocks which cover and reinforce the corners of the case.

Closeup of the spine / bentside corner.

Sunday, February 5, 2012

Progress

The weather in January was not particularly conducive to harpsichord building in a workshop that occupies part of an unheated and mostly uninsulated garage. For the first few weeks the temperature was too low for gluing and this was followed by rain and wildly fluctuating humidity.

Things are warmer and drier now and it has become possible to start assembly of the case.

First, however, a few things that I did manage to get done in January:

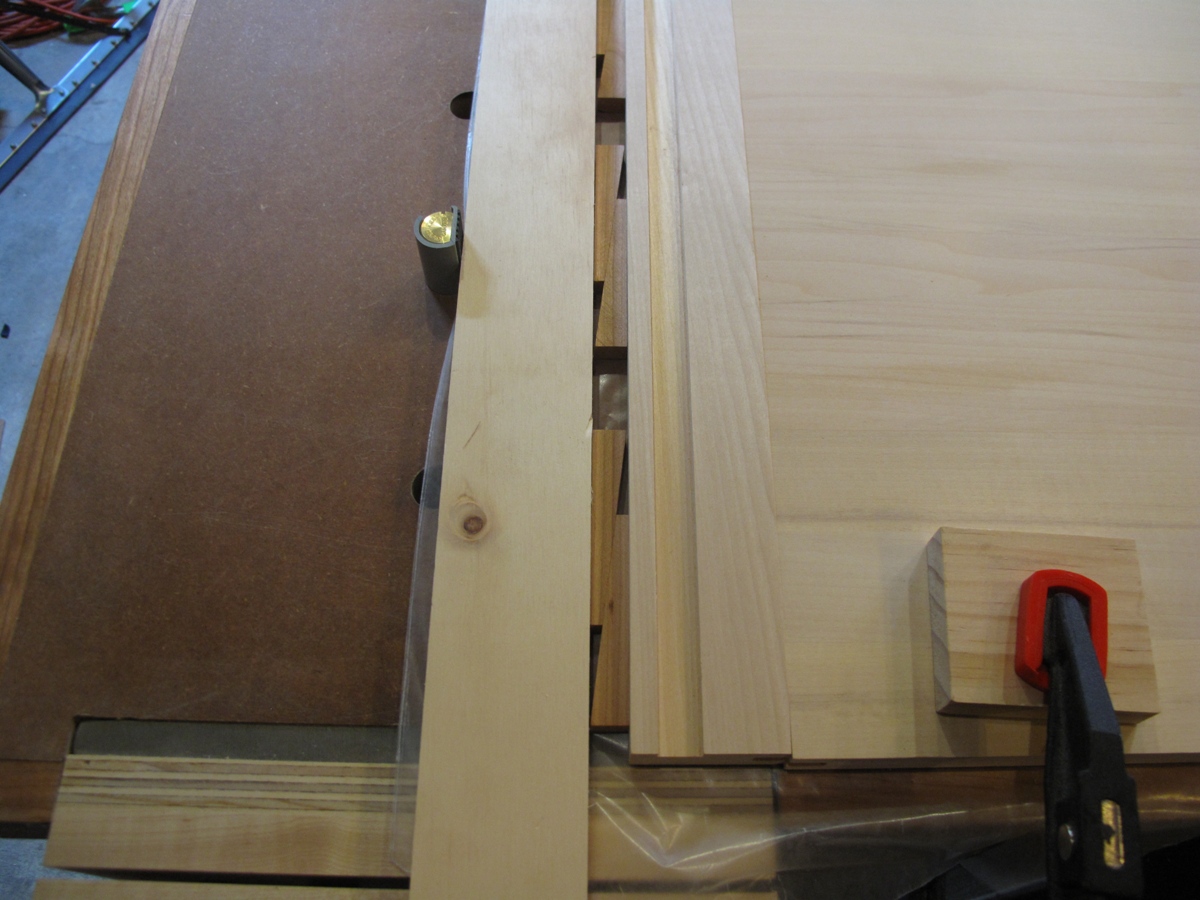
The front edge of the bottom has a narrow strip attached to it which has a groove into which the fall board fits. This is the clamping arrangement that I used for gluing the strip.

I also assembled the keyboard frame at this stage - having it available makes it easy to check the fit of some of the other components before they are glued in place.

I also drilled the wrestplank

and attached it to its supporting blocks

With the lower belly rail clamped in place and two alignment jigs standing in for the wrestplank supports the two flat strips of wood on which the keyboard frame rests can be accurately positioned and glued in place


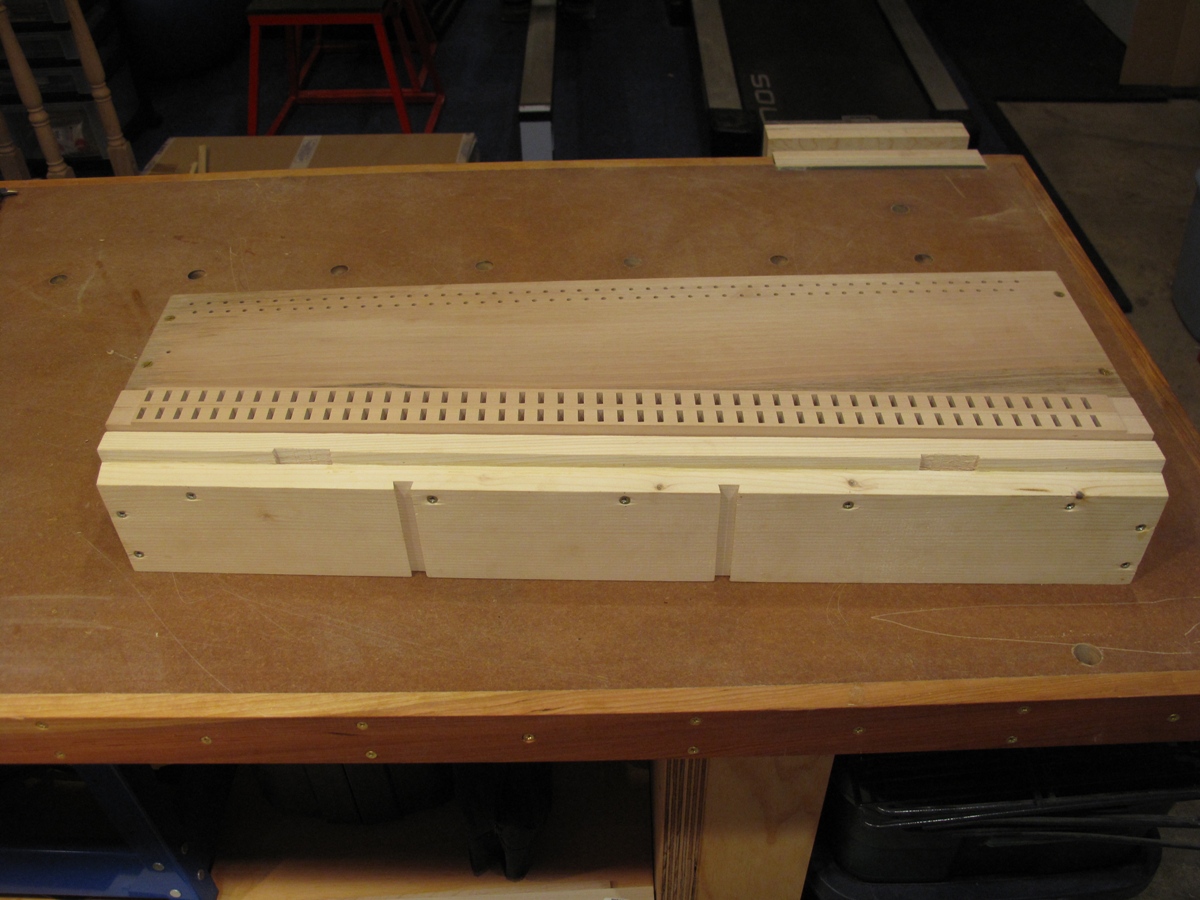
The lower and upper belly rails are attached to the wrestplank supports and the wrestplank assembly is complete. In these pictures the registers are also laid in place in the gap between the wrestplank and the belly rail.

That brings things up to date and finally, now that the weather is being more cooperative, the entire wrestplank assembly can be attached to the bottom of the harpsichord

The braces that stiffen the bottom board are glued in place

along with the knees that help to support the belly rail

.... and the whole assembly is moved back inside the house along with the next parts of the case that will be assembled - the spine, cheek and tail pieces.