Sunday, February 12, 2012

Fitting the spine, tail and cheek

This weekend I got the three "easy" sides of the case installed - the spine, the tail and the cheek.

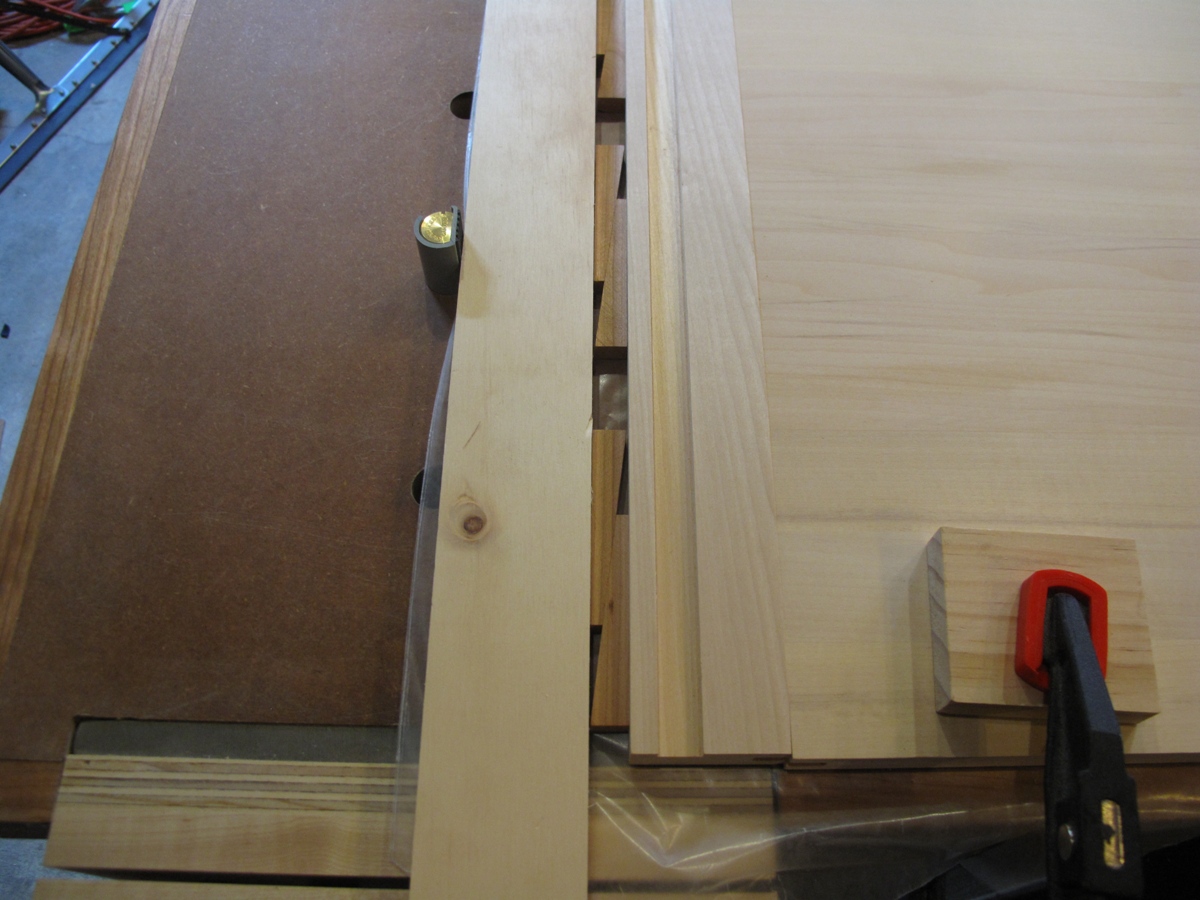
This is the cheek being glued in place clamped to the the wrestplank support block and screwed to the bottom of the case.

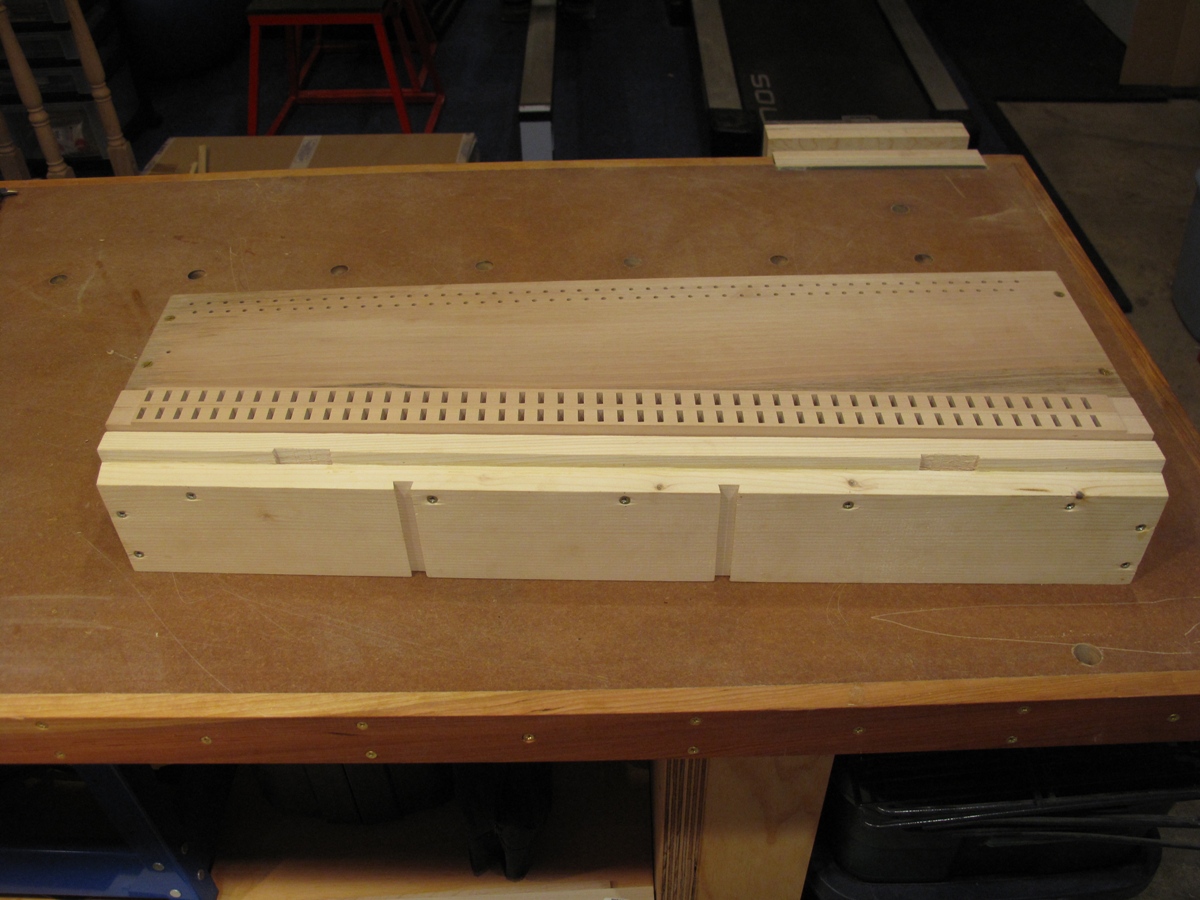
This is what the case looks like with the three side pieces attached.


Closeup of the wrestplank end of the spine showing the screws securing it to the base and the small window through which the registers can be removed from the instrument which, amazingly enough lines up perfectly with the gap between the wrestplank and the upper belly rail where the registers sit.

Closeup of the tail end of the spine showing the spine / tail joint.

The tail - all of the screws will ultimately be covered up by a molding that runs along the bottom of the case and by wooden blocks which cover and reinforce the corners of the case.

Closeup of the spine / bentside corner.

Sunday, February 5, 2012

Progress

The weather in January was not particularly conducive to harpsichord building in a workshop that occupies part of an unheated and mostly uninsulated garage. For the first few weeks the temperature was too low for gluing and this was followed by rain and wildly fluctuating humidity.

Things are warmer and drier now and it has become possible to start assembly of the case.

First, however, a few things that I did manage to get done in January:

The front edge of the bottom has a narrow strip attached to it which has a groove into which the fall board fits. This is the clamping arrangement that I used for gluing the strip.

I also assembled the keyboard frame at this stage - having it available makes it easy to check the fit of some of the other components before they are glued in place.

I also drilled the wrestplank

and attached it to its supporting blocks

With the lower belly rail clamped in place and two alignment jigs standing in for the wrestplank supports the two flat strips of wood on which the keyboard frame rests can be accurately positioned and glued in place


The lower and upper belly rails are attached to the wrestplank supports and the wrestplank assembly is complete. In these pictures the registers are also laid in place in the gap between the wrestplank and the belly rail.

That brings things up to date and finally, now that the weather is being more cooperative, the entire wrestplank assembly can be attached to the bottom of the harpsichord

The braces that stiffen the bottom board are glued in place

along with the knees that help to support the belly rail

.... and the whole assembly is moved back inside the house along with the next parts of the case that will be assembled - the spine, cheek and tail pieces.

Sunday, January 22, 2012

Marking out

Time to line up the drawing on top of the bottom board and mark out the positions of the knees (the triangular blocks that support the sides of the case) and the braces that stiffen the bottom.
Here is a close-up of the spine side of the drawing lined up exactly along the edge of the bottom.
From the close-up view of the opposite side - the cheek - you can see that the bottom is over sized by a few millimeters.
After marking out the upper side of the bottom I flipped it over to mark out the position of the stand.

Monday, January 9, 2012

Putting together the pieces

I am going to let the wood acclimatize to its new environment for a couple of weeks before I start to assemble anything but I did want to get an idea of how well the case parts were going to fit together so I set up the bottom board on my workbench and clamped the spine and cheek onto it and then laid out some of the other internal components.


The bottom of the instrument is supplied slightly over sized so there is a slight gap between the wrestplank and the cheek. As the instrument is being assembled the cheek edge of the bottom will be planed down until it is an exact fit.


Finally here are some of the internal bracing structures laid in place.

Sunday, January 8, 2012

Unpacking

The kit arrived a few days ago - all the way from France via San Antonio, TX.


Most of the smaller components are packaged up in two boxes with some of the longer pieces of wood at the front.

The bottom of the box had quite a large hole in it but fortunately nothing was damaged.

This is the soundboard - still in one piece after its 6,500 mile journey and still covered in a light film of sawdust.

The first box contains the stand and the action parts including the jacks, the registers and the keyboard.

The second box contains the remaining wooden components.

A new begining ...

It's 2012 and I am about to start the construction of my second harpsichord - this time from a Paris Workshop kit supplied by Gerald Self - like the previous Zuckermann kit this is a Neapolitan style Italian instrument. The two instruments are similar in many ways, but there are also some significant differences.

The most obvious visible difference is that the Zuckermann Neapolitan is what is known as an "inner" harpsichord - an instrument with a fairly thin, light weight case and no lid that, traditionally, would have been placed inside a larger and heavier outer case.


In contrast, the Paris Workshop instrument of the so called "false inner/outer" design where there is, in fact, only a single case but one which retains the appearance of a separate "inner" instrument sitting inside of an "outer" case.

The Paris Workshop Neapolitan instrument is more fully described here.

Both instruments have two 8' choirs strung in brass. very similar compasses (51 notes C-d3 for the Zuckermann instrument, 49 notes C-c3 for the Paris Workshop instrument), very similar scaling and, of course, very similar internal construction.

Friday, May 6, 2011

The end ...

The last few entries have been catching up with things that have happened over the last 3 months.

Fast forward to the present day and it is May 6, 2011 - exactly 9 months since the harpsichord kit arrived on August 6 last year and I am going to declare it "finished" - for now at least ...

Overall I am very pleased with the instrument - the back 8' has a nice warm, clear, singing character to it and is, I think, already very close to where it should be - the front 8' is a little more incisive and, when played on it's own, the top octave is perhaps a little brittle - it will probably need more work but right now it just needs to be played for a while. The two voices combined blend very well together and produce a very satisfying effect.

Tuning appears to be quite stable with the caveat that this instrument does appear to be very sensitive to changes in humidity - much more so than the French double that is in the same room only a few feet away - a change of 5% relative humidity can shift the pitch of the Neapolitan by 15 cents while the double hardly seems to notice - even when this happens the instrument does stay pretty much in tune with itself and if you don't mind leaving it slightly sharp or flat you can get away with only touching up a few notes - on the other hand it is an extremely easy instrument to tune and a complete tuning doesn't take more than 15 or 20 minutes.

At the outset I did intend to keep track of exactly how much time I spent working on the instrument but I completely failed to do that. The one thing that I do know is that I spent at least as much time planing and thinking about the best way to do things as I spent actually working hands-on during the construction phase which lasted almost exactly 6 months. The last 3 months were all taken up with voicing and just playing the instrument. Construction could certainly have been done in much less than 6 months elapsed time - I had originally estimated about 4 months but I had some other commitments that took up more of my time than I had expected.

Anyway, here it is, alongside its larger and older cousin ...