The weather in January was not particularly conducive to harpsichord building in a workshop that occupies part of an unheated and mostly uninsulated garage. For the first few weeks the temperature was too low for gluing and this was followed by rain and wildly fluctuating humidity.
Things are warmer and drier now and it has become possible to start assembly of the case.
First, however, a few things that I did manage to get done in January:
The front edge of the bottom has a narrow strip attached to it which has a groove into which the fall board fits. This is the clamping arrangement that I used for gluing the strip.

I also assembled the keyboard frame at this stage - having it available makes it easy to check the fit of some of the other components before they are glued in place.

I also drilled the wrestplank

and attached it to its supporting blocks


With the lower belly rail clamped in place and two alignment jigs standing in for the wrestplank supports the two flat strips of wood on which the keyboard frame rests can be accurately positioned and glued in place


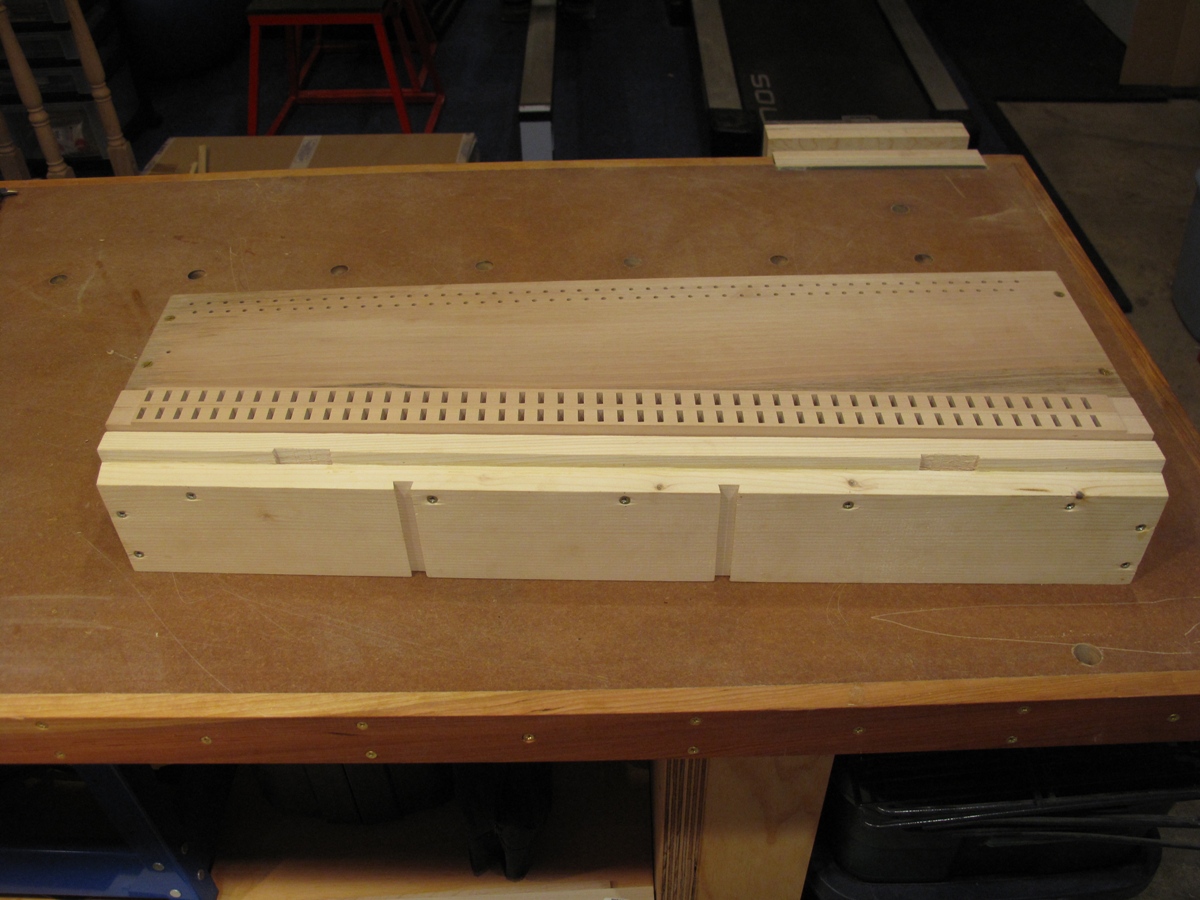
The lower and upper belly rails are attached to the wrestplank supports and the wrestplank assembly is complete. In these pictures the registers are also laid in place in the gap between the wrestplank and the belly rail.


That brings things up to date and finally, now that the weather is being more cooperative, the entire wrestplank assembly can be attached to the bottom of the harpsichord


The braces that stiffen the bottom board are glued in place

along with the knees that help to support the belly rail

.... and the whole assembly is moved back inside the house along with the next parts of the case that will be assembled - the spine, cheek and tail pieces.